


As the vibrant colours of summer fade, businesses across New Zealand must start preparing their commercial gardens for the cooler months ahead. A well-maintained landscape enhances your property’s appeal and ensures a healthy, thriving outdoor space that lasts through the season. With Crewcut’s expert garden maintenance services, your business can stay ahead of autumn’s challenges and keep your commercial gardens looking their best.
Why Autumn Garden Maintenance Matters
Autumn is a critical time for garden maintenance in New Zealand. Falling leaves, fluctuating temperatures, and increased rainfall can impact the health and appearance of your outdoor spaces. Taking proactive steps now helps prevent long-term issues and sets up your garden for winter resilience and spring renewal.
Key Steps for Autumn Lawn Care and Garden Maintenance
Leaf Clearance and Waste Removal
Fallen leaves and organic debris can suffocate lawns, create slippery pathways, and encourage mould and pests. Crewcut ensure regular leaf clearance, keeping your commercial property tidy and safe while promoting healthy grass growth.
Lawn Care for Cooler Months
Autumn is the perfect time to focus on lawn health. Crewcut’s professional lawn mowing services keep your grass at an optimal height, preventing disease and encouraging strong root development. Our expert team also provides essential autumn lawn care services, such as aeration, fertilisation, and overseeding, to keep your lawn lush and resilient.
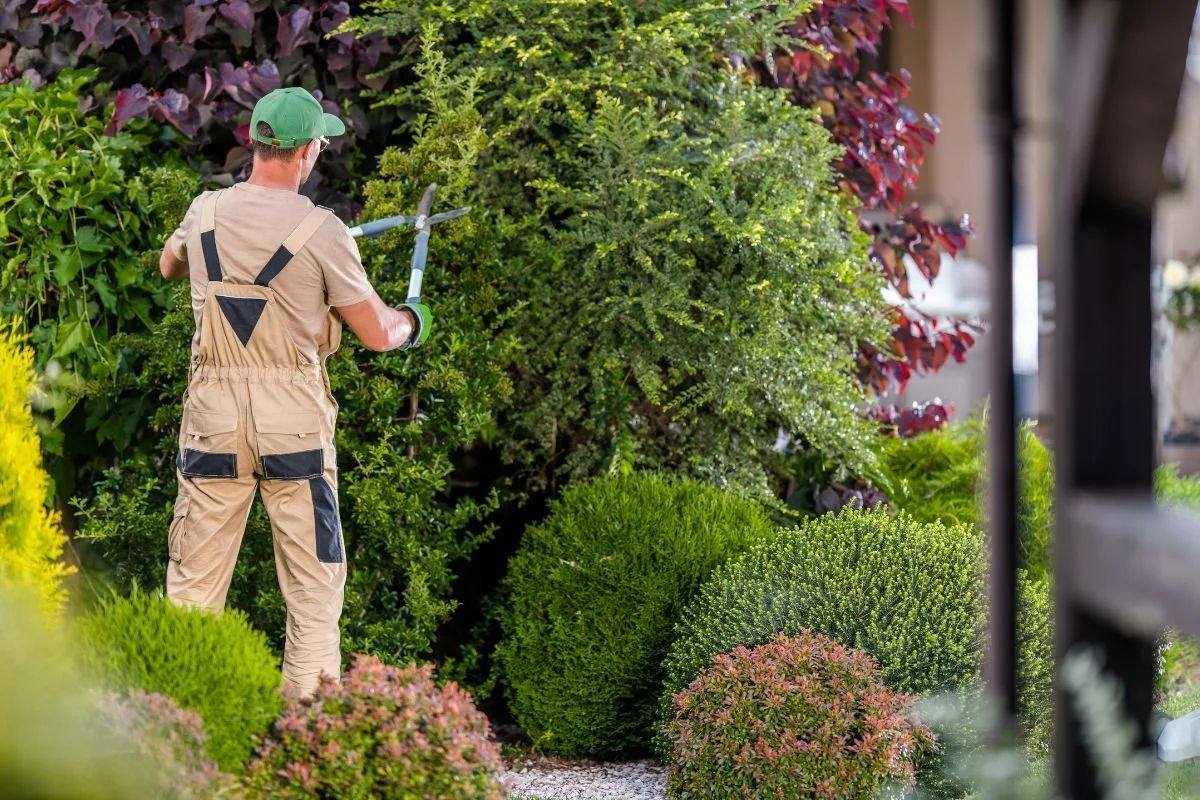
Pruning and Trimming
Pruning trees, shrubs, and hedges in autumn helps maintain their shape and health while removing any weak or damaged branches that could become hazardous during strong winds. With Crewcut’s skilled pruning services, your greenery will remain neat and professional looking.
Weed and Pest Control
As temperatures drop, some pests and weeds become more active, seeking shelter and food in commercial gardens. A proactive garden maintenance plan with Crewcut includes weed removal and targeting pest control to prevent infestations that could damage your plants.
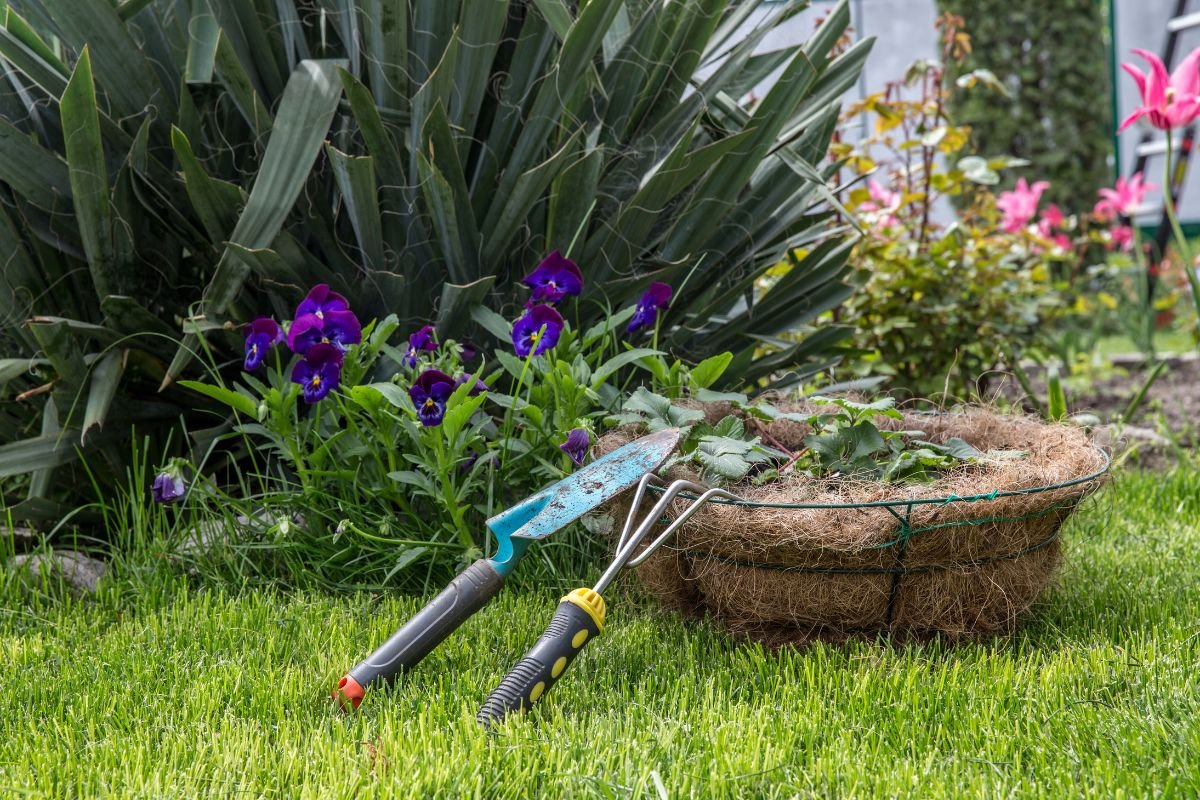
Mulching and Soil Health
Applying fresh mulch helps insulate plant roots, retain moisture, and suppress weeds during autumn and winter. Crewcut’s expert team ensures the right balance of organic matter to keep your soil health and nourished for the coming months.
Seasonal Planting and Colour Maintenance
Brighten your commercial garden with autumn-friendly plants and flowers that thrive in cooler temperatures. Crewcut can recommend seasonal varieties that keep your outdoor spaces visually appealing, even as temperatures drop.
Trust Crewcut for Expert Garden Maintenance in NZ
A well-maintained commercial garden reflects positively on your business, creating an inviting and professional first impression. Crewcut provides tailored garden maintenance services in NZ to help businesses keep their landscape in top condition throughout autumn and beyond.
Get in touch with Crewcut today to schedule your autumn lawn care and garden maintenance services. With Crewcut by your side, your business property will remain tidy, healthy, and ready for the seasons ahead!
